Getting Started with Sales Savant
Welcome to Sales Savant! This guide walks you through every screen of the first-time setup so you know exactly what to expect, from creating your account through landing on your dashboard.
The whole flow takes about five minutes.
Create your account
Visit app.salessavant.ai/sign-up and enter your work email and a password. You'll receive a verification code by email to confirm the address.
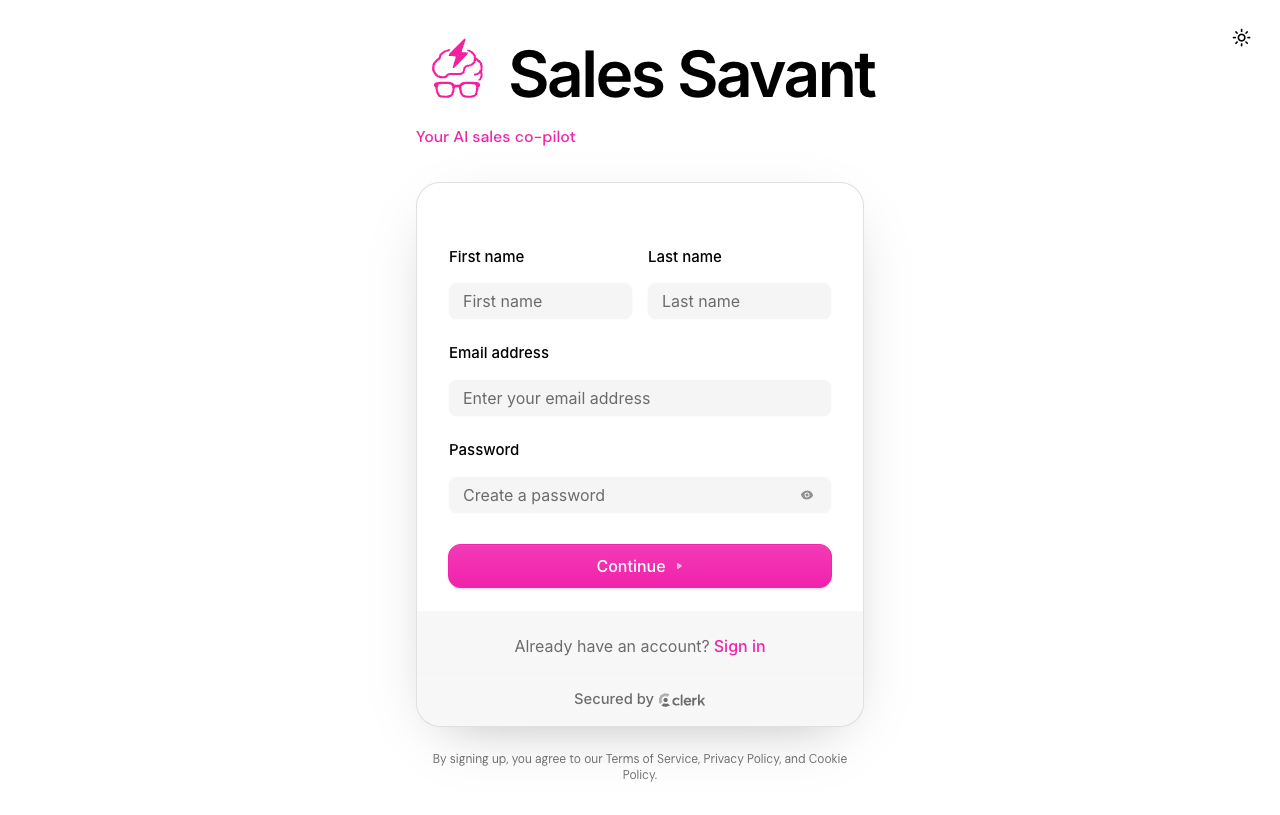
Once your email is verified, you'll be signed in automatically and taken into the onboarding wizard. The wizard has six steps. Naming your organization and choosing a plan are required; connecting recordings and adding reps can be done now or later from Settings, though the product does nothing useful until recordings are connected.
Step 1 — Name your organization
The wizard opens by asking for a name for your organization. This becomes the top-level container for your teams, integrations, and billing.
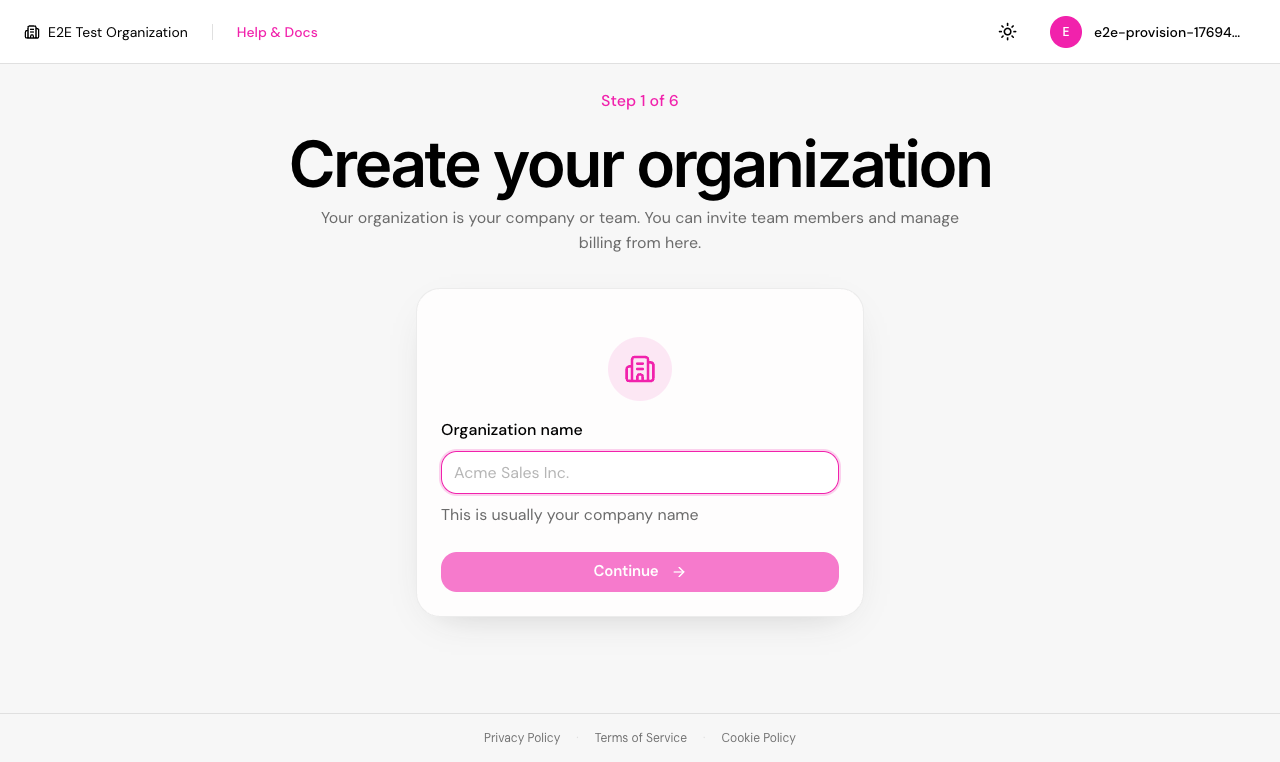
Use the name your team will recognize (e.g. Acme Inc. or Acme Sales). You can change it later in Settings → Organization.
Step 2 — Choose your plan
Pick the plan that fits your team size, choose your seat count, and complete payment through Stripe Checkout. Your subscription has to be active before we can start processing calls, so this step is required.
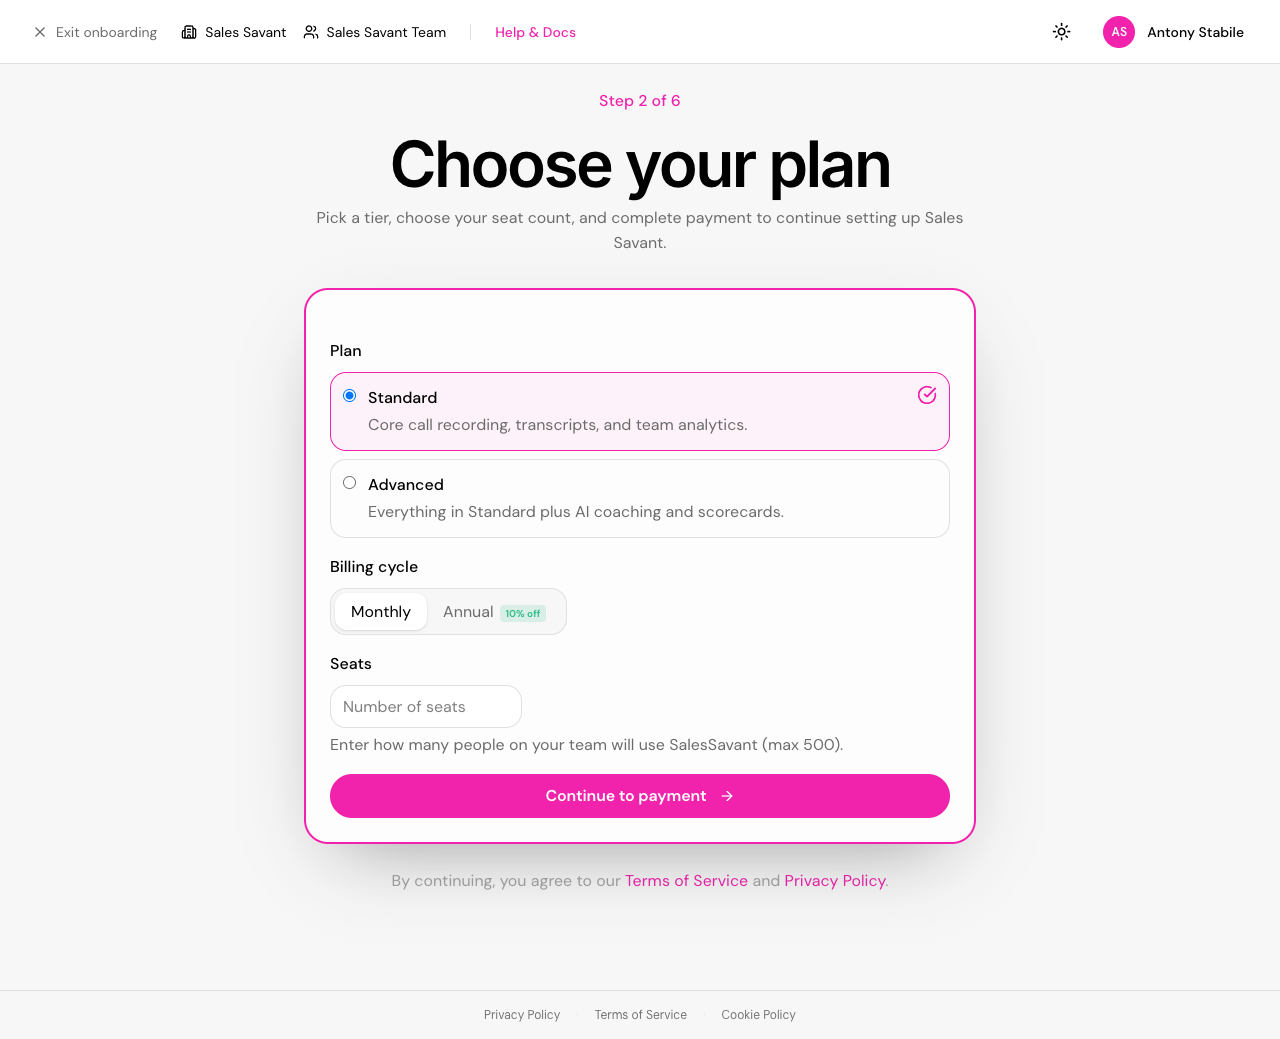
If you have an affiliate or prepay code, enter it on this screen — the discount applies at checkout. You can manage your plan, seats, and payment method later from Settings → Billing.
Step 3 — Name your team
We pre-create a team for you so you don't have to start from a blank screen. You can rename it here, or click Add another team if your org has more than one sales team to track.
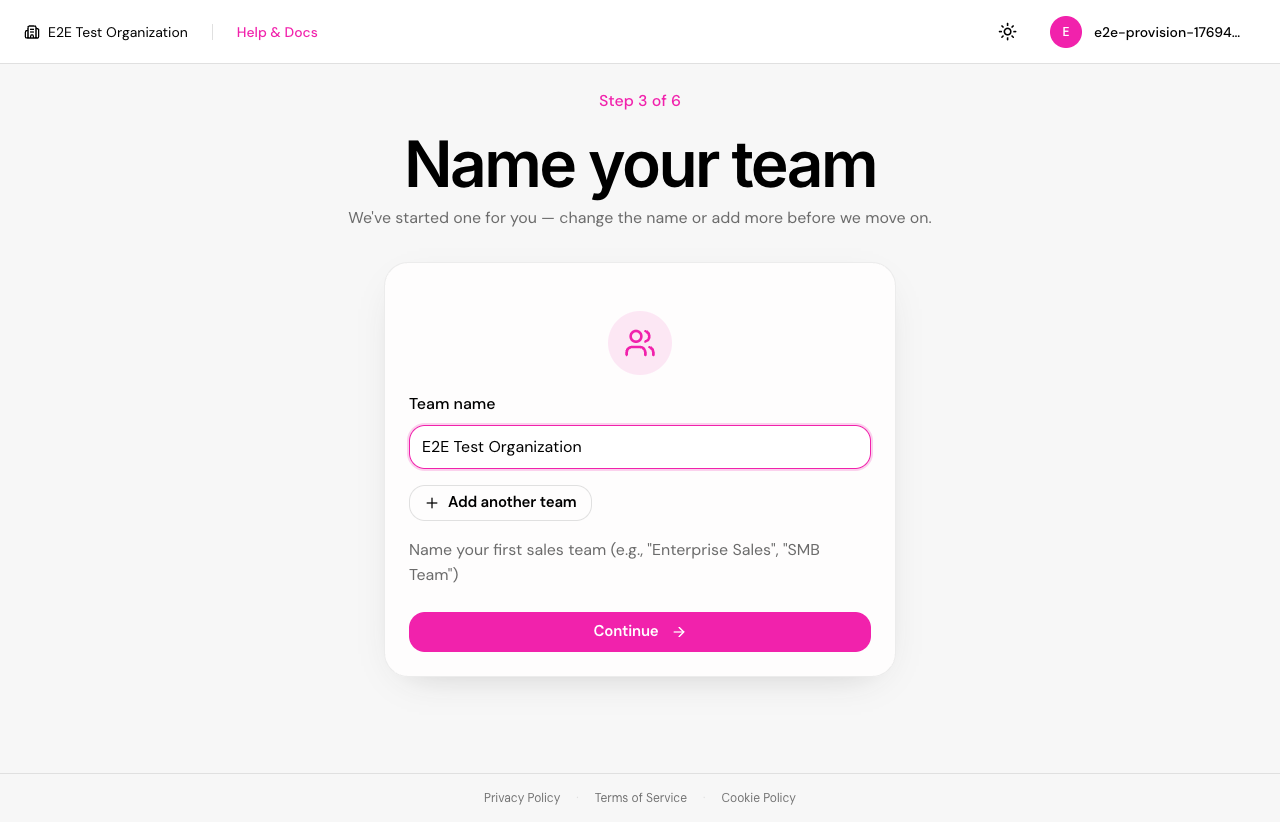
Most customers stick with one team to start and add more later from Settings → Teams.
Step 4 — Connect your recordings
This is the most important step — Sales Savant only works once we can see your calls. Pick Zoom or Fathom and follow the OAuth prompts to grant read access to your recordings and transcripts.
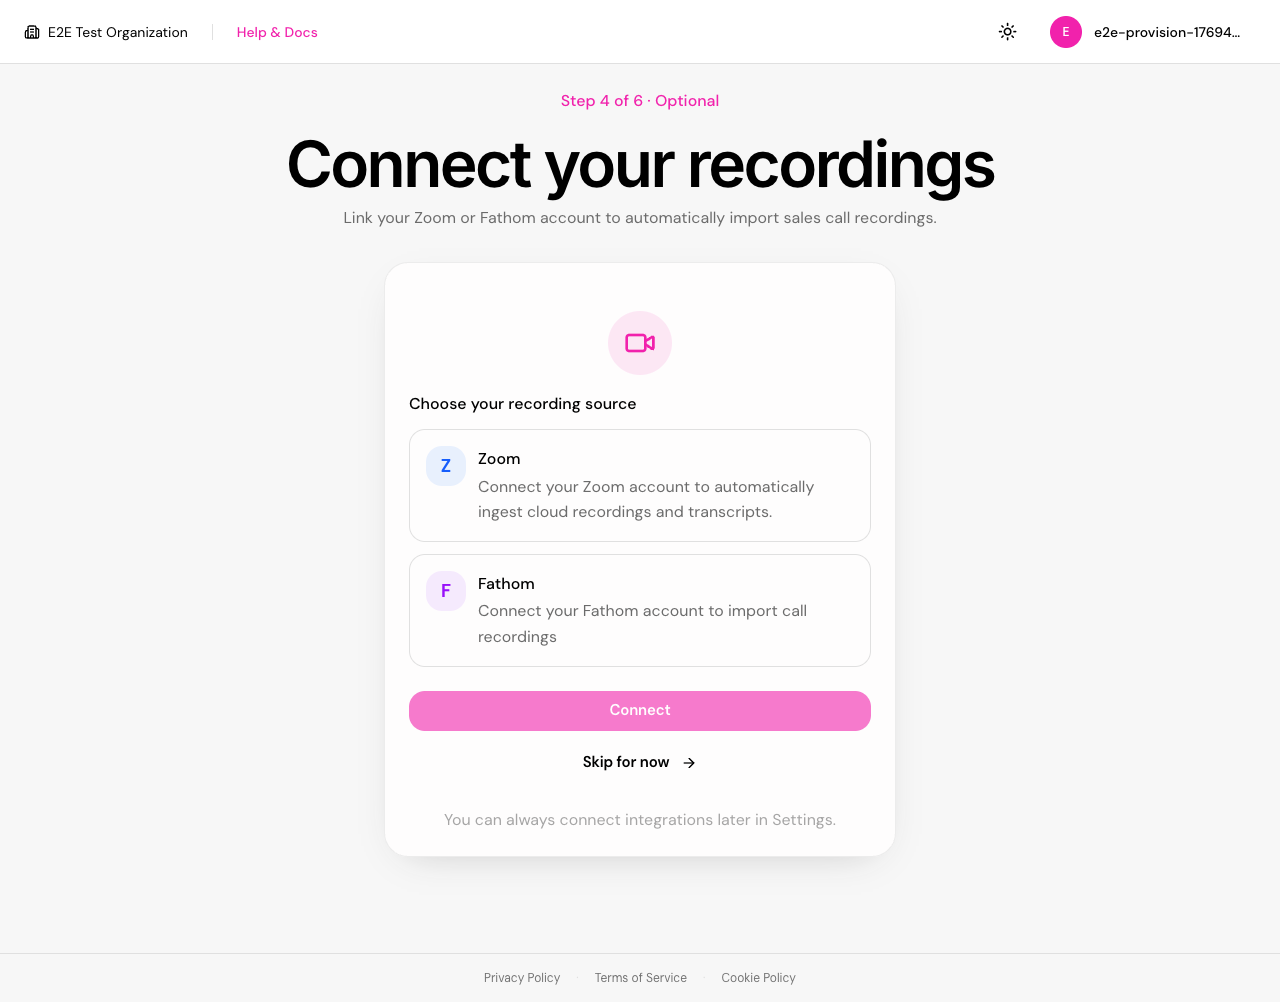
Once connected, we'll start syncing your most recent calls in the background. For step-by-step provider instructions, see the Integration Setup guide.
Step 5 — Add your team members
Add the reps you want Sales Savant to score and coach. Each rep gets an invitation email with a link to set up their own login.
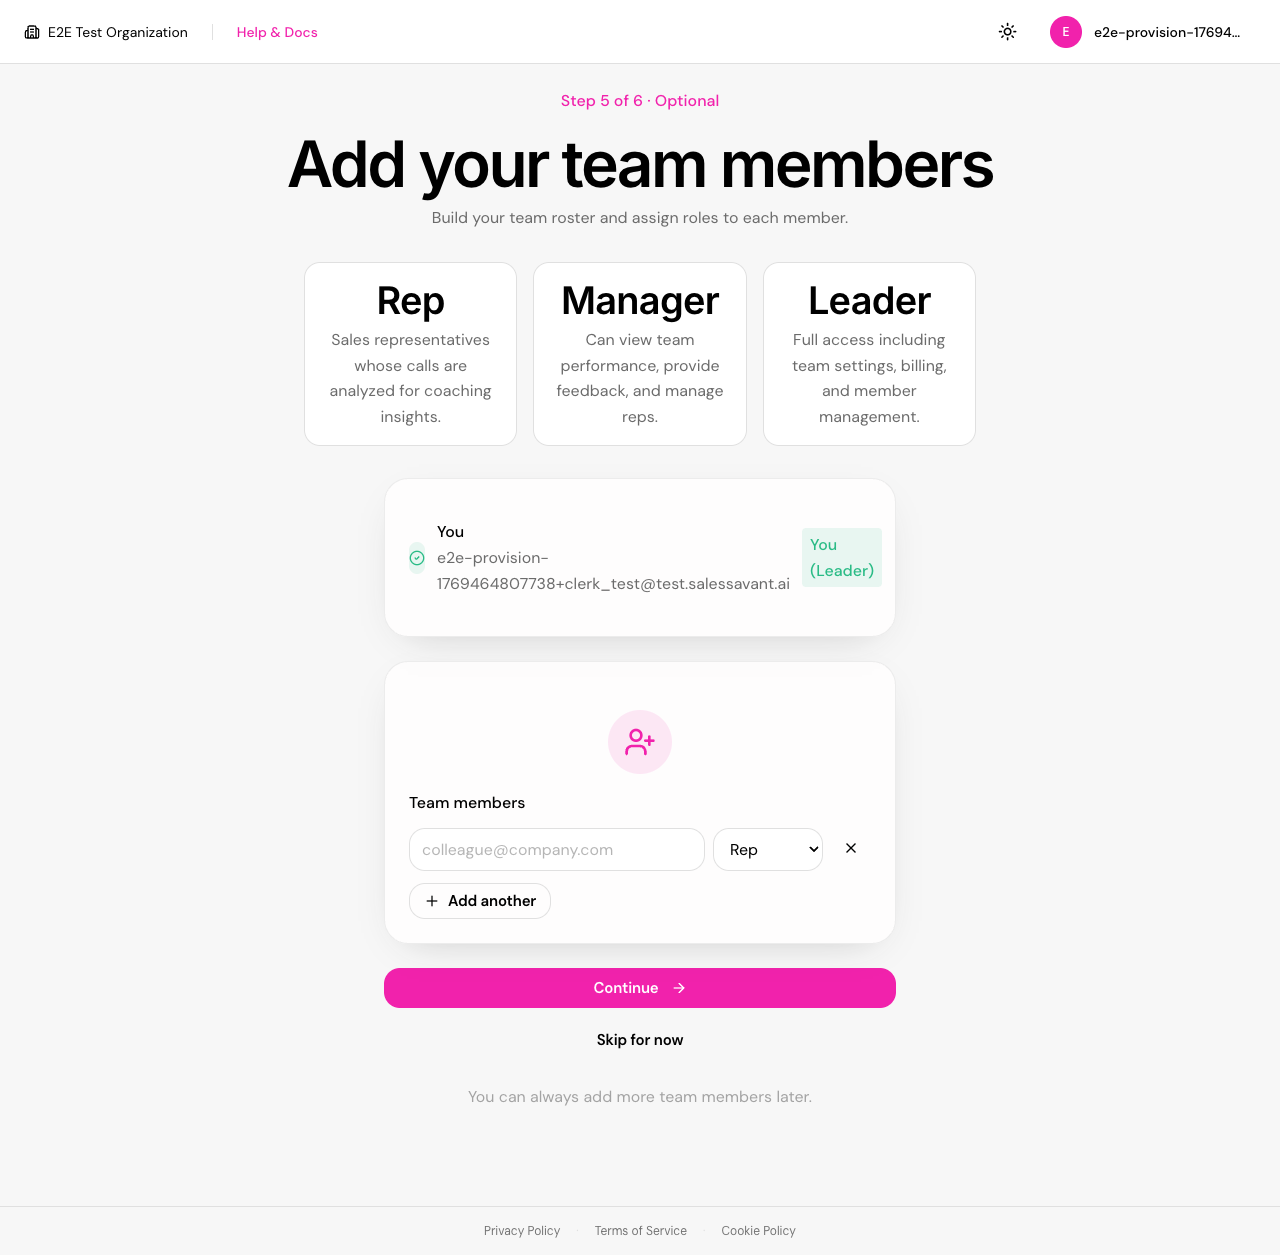
You can skip this and add reps later from Settings → Teams, but adding them now means they get their first weekly digest as soon as their calls land.
Add reps from your integration rather than by email where you can — it links each person to their recording account, which is what lets us attribute calls to them. A rep added by email won't have calls attributed until someone links them. For the full walkthrough, see Managing Your Team.
Step 6 — You're in
That's it — onboarding is complete. The welcome screen confirms your setup and hands you off to your dashboard.
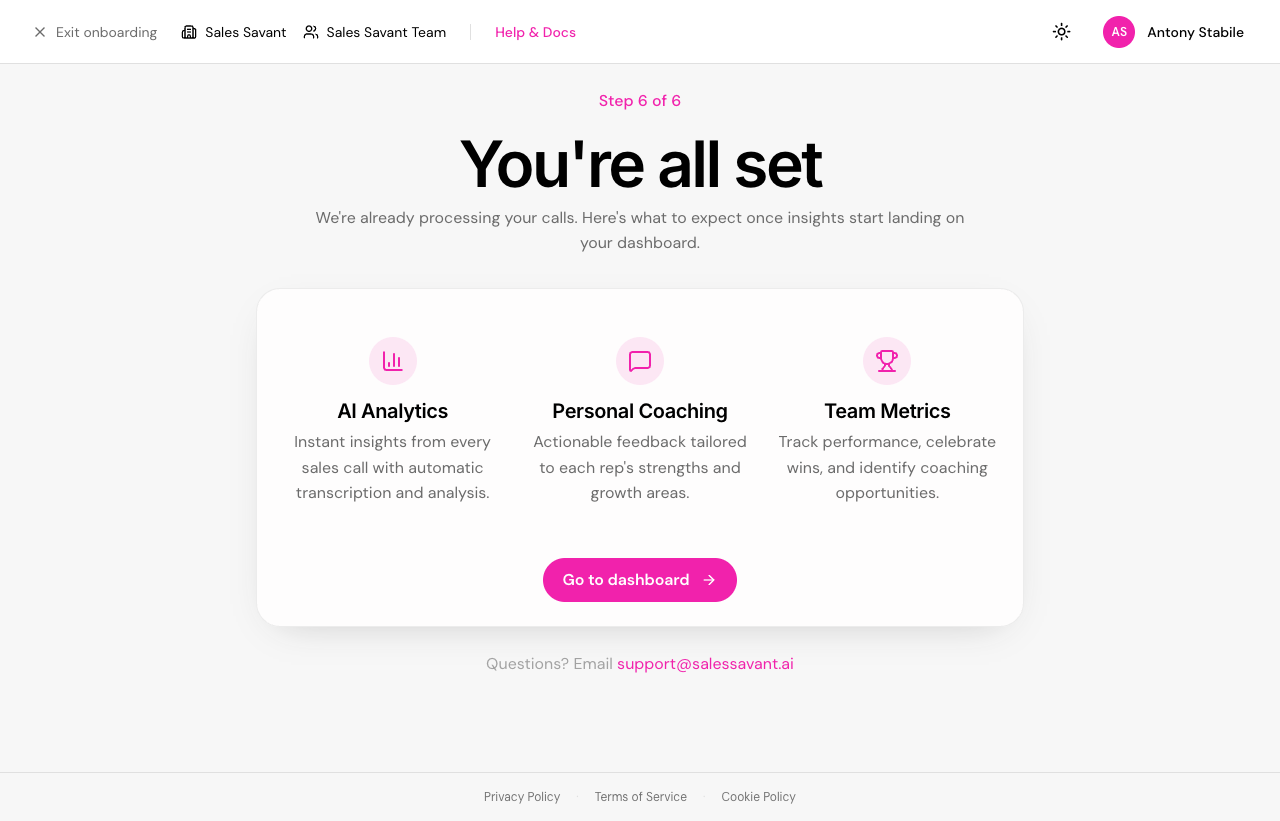
Your first calls will appear on the dashboard within a few minutes of being recorded. Coaching insights start showing up once we've processed three or four calls per rep.
What to do next
Pick the guide that matches your role:
- Leader Overview — analytics, team oversight, and strategic insights
- Manager Overview — coaching tools, team performance, and rep development
- Rep Overview — call reviews, personal coaching, and self-improvement
Or jump straight to the platform basics:
- Integration Setup — Zoom and Fathom in detail
- Managing Your Team — invites, roles, and team structure
- Giving Feedback — how to tell us when a score is wrong
Stuck on a step? Email support@salessavant.ai — we read every message.